Front End Technical Lead & Developer
I'm Roy Barber, a freelance front end tech lead/developer & designer, specialising in accessibility. Based in the UK, working globally with corporations, startups and agencies.
I've been lucky to work with:


Capabilities
I'm a multidisciplinary digital designer and developer with 23 years experience, freelanceing from 2009. From my office in the UK, I serve agencies, corporations and start-ups worldwide. I excel at integrating seamlessly into my clients' teams as a white label resource.
I'll fit seamlessly into your workflow. Whether that's taking client feedback directly, or attending client meetings as 'one of your agency team', we never disclose who I am or what I do for your business.
Front End Development
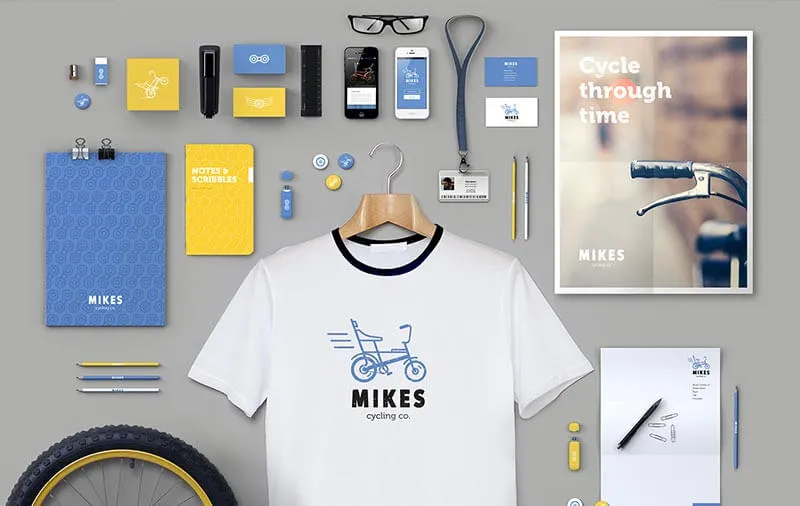
I use my knowledge and expertise to save time in development, specialising in accessible enterprise CMS/ecommerce and design systems. Developing fast reusable design systems to improve clients web vitals and conversion.
Skills
- Optimizely, Umbraco & Headless
- Vue3, NextJs, React & Astro
- Component libraries
- Tailwind CSS
- WCAG, ADA complince
Tools
- Git
- Automated testing
- Visual Studio, Code
- Vite / Web/Turbopack
- Sass, Less
Accessible UI, UX & Design System Design
Since 2001, I've designed streamlined, easy-to-use websites and user interfaces. I work to the principle that less is more, while carefully and strategically including important details and interactions. From simple websites to full design systems.
Skills
- Web Apps
- Mobile Apps
- Responsive Websites
- Landing Pages
- Design Systems
Tools
- Pencil & Paper
- Axure
- Sketch / Figma
Download a copy of my CV
Enter your details below to get a copy of my CV emailed to you.


Hire me
I usually book my available time in daily increments. A day is equal to 7.5 hours of work, which is also the minimum hours I usually book for depending on if we have worked together before or not. All time is required to be booked in advance. My standard working week is 37.5 hours.
Rates
All work is billed on a day rate basis with consulting-only services at a fixed price. I always bill in £(GBP) and all prices are plus VAT if you are a UK customer. If your project requires a fixed price then this is possible. My rates are non negotiable. My favourite introduction is.. "Hi Roy, We have a budget of X for X what could you do in that budget."
Legal
All clients are required to sign a Contract of Works, this outlines the agreed hours, budget or fixed cost of the project as well as the scope and timeline. NDA agreements carry a fixed cost on top of any agreed hours.
Availability
Please get in contact to check my current availability, this can change daily and usually book a few weeks in advance. Please still contact me if your project requires urgent attention.
Contact me
I work from my well-equipped office (not home) in Doncaster, UK. It's a five-minute walk from the national train station with a 70min train to the capital London, or 15 minutes from Doncaster's international airport. I can also operate at a client's premises as and when required.
Let's get a day & time in the diary for a coffee, or a chat on hangouts/teams.
hi@roybarber.com
+44(0)7504758839
My office hours are 8AM - 5:30PM Monday to Friday